
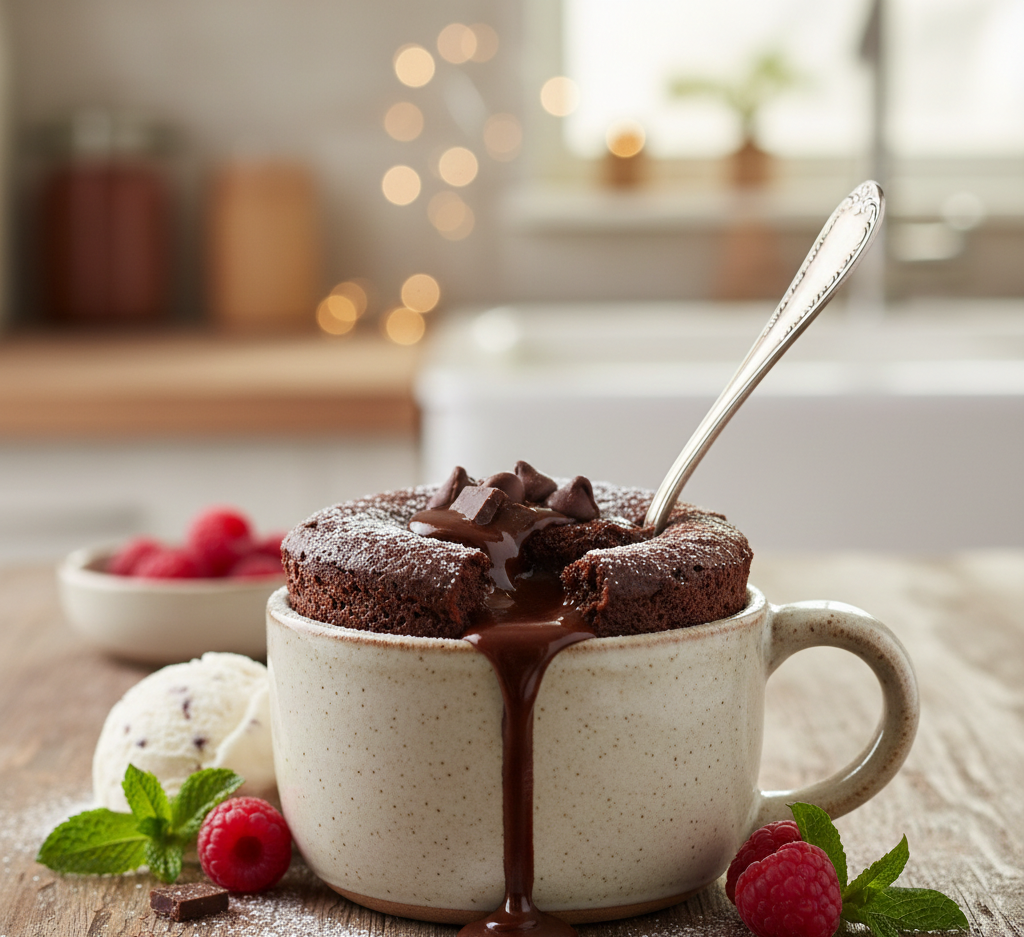
Chocolate Mug Cake: A warm, gooey hug in a cup, made in minutes.
Ingredients *
The Sweet Base (The Mix) | The Pantry (The Lift) |
Maida (Flour): 4 tablespoons | Sugar: 3 tablespoons |
Cocoa Powder: 2 tablespoons | Baking Powder: 1/4 teaspoon |
Milk: 3 tablespoons | Salt: A tiny pinch |
Oil or Butter: 1 tablespoon | Vanilla Essence: 2 drops (optional) |
Step 1: The Melt (Mixing the Liquids)
This is the start where we combine the “wet” ingredients to create a smooth texture.
- Take a large, microwave-safe coffee mug.
- Put the Milk, Oil (or melted Butter), and Vanilla into the mug.
- What to look for: Stir them together until they look like one smooth liquid. This is the foundation of your cake.
Step 2: The Fold (Adding the Dry Parts)
This is where we turn the liquid into a thick, chocolatey batter.
- Add the Flour, Cocoa Powder, Sugar, and Baking Powder into the same mug.
- The Motion: Use a small spoon to “fold” the dry powder into the liquid. Mix gently until all the white flour disappears.
- What to look for: You want a thick, brown paste that looks like melted chocolate. If it’s too dry, add one extra teaspoon of milk.
Step 3: The Gilded Finish (The Heat)
This is the “Heat” part of our theme where the magic happens.
- Place the mug in the microwave.
- Cook it for 1 minute and 30 seconds (this may vary by microwave).
- The Rise: Watch through the glass! The cake will “rise” up like a soft cloud.
- The Finish: Take it out carefully. The top should look firm. Let it sit for 1 minute—this is the “Gilded” moment where the heat settles and the cake becomes perfectly soft.
Disclaimer: The actual product may vary slightly in appearance, color, or texture due to natural material variations.