
The Foundation of Flavor: Fall In Love With Cooking
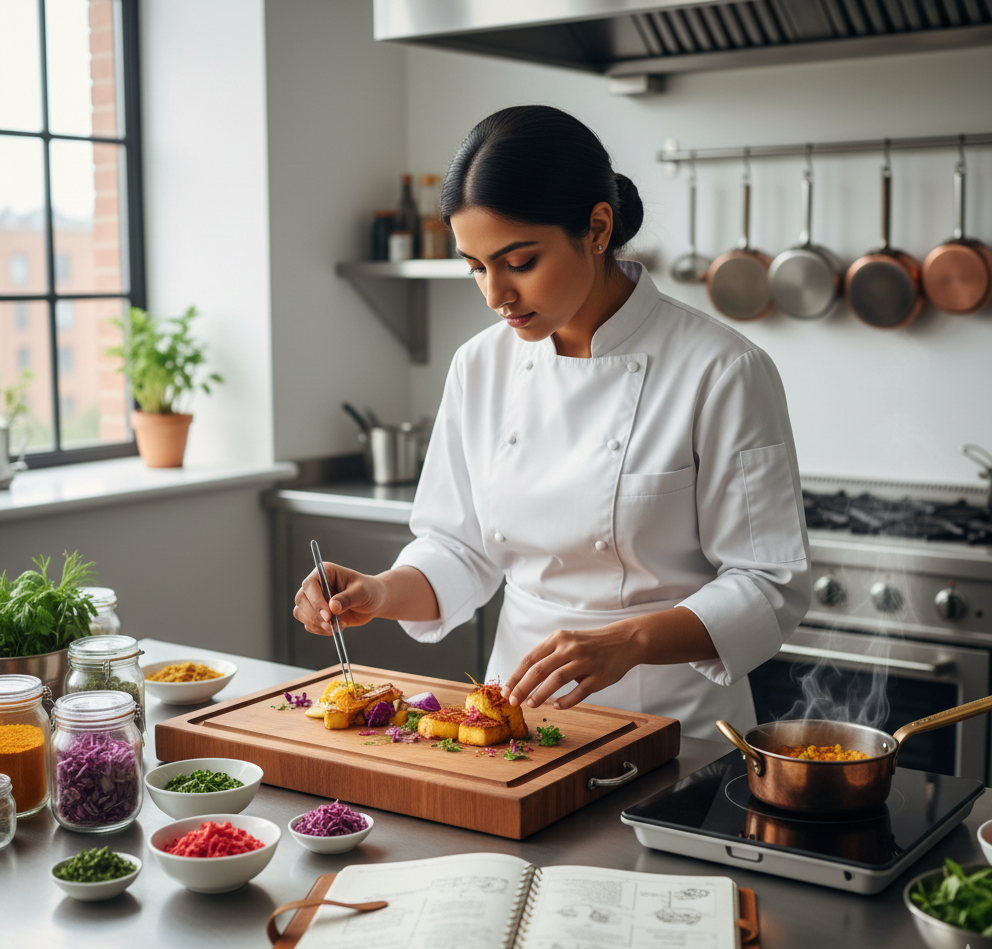
Welcome to the heart of the home. At Masalaway, we believe that cooking isn’t just a chore—it’s a heritage, an art, and a sensory journey. Whether you are a college student boiling your first pot of dal or a newlywed trying to recreate your grandmother’s signature curry, the kitchen can feel intimidating.
But here is a secret: Great cooking isn’t about complex techniques; it’s about understanding the basics, choosing the right tools, and using the purest ingredients. In this guide, we’ll break down the “Masalaway Method” to help you master your kitchen from the ground up.
1. Cooking at its Simplest: The Beginner’s Mindset
At its most basic level, cooking is simply the application of heat to transform ingredients. You don’t need a culinary degree; you just need to control three things: Heat, Prep, and Taste.
Heat Management (The Volume Control)
Think of your stove dial like a volume knob.
High Heat: Best for boiling water or “searing” meat and vegetables to get a brown, flavorful crust.
Medium Heat: Your “sweet spot.” This is where you sauté onions and cook most of your meals without burning them.
Low Heat: Used for simmering and “infusing.” This is how you let spices like Masalaway Green Cardamom gently release their floral oils into a kheer or sauce.
The “Mise en Place” (Prep Before the Fire)
The #1 reason beginners fail is “panic-chopping.” They turn on the stove and then realize the garlic isn’t peeled.
The Pro Rule: Chop your vegetables and measure your Masalaway Jeera or Sarso Dana before the flame is lit. When everything is ready in small bowls, cooking becomes a calm, joyful assembly.
Tasting as You Go
A dish is never “finished” until you taste it. If it tastes flat, it needs Salt. If it tastes too heavy or oily, it needs Acid (a squeeze of lemon or a dash of vinegar).
But here is a secret: Great cooking isn’t about complex techniques; it’s about understanding the basics, choosing the right tools, and using the purest ingredients. In this guide, we’ll break down the “Masalaway Method” to help you master your kitchen from the ground up.
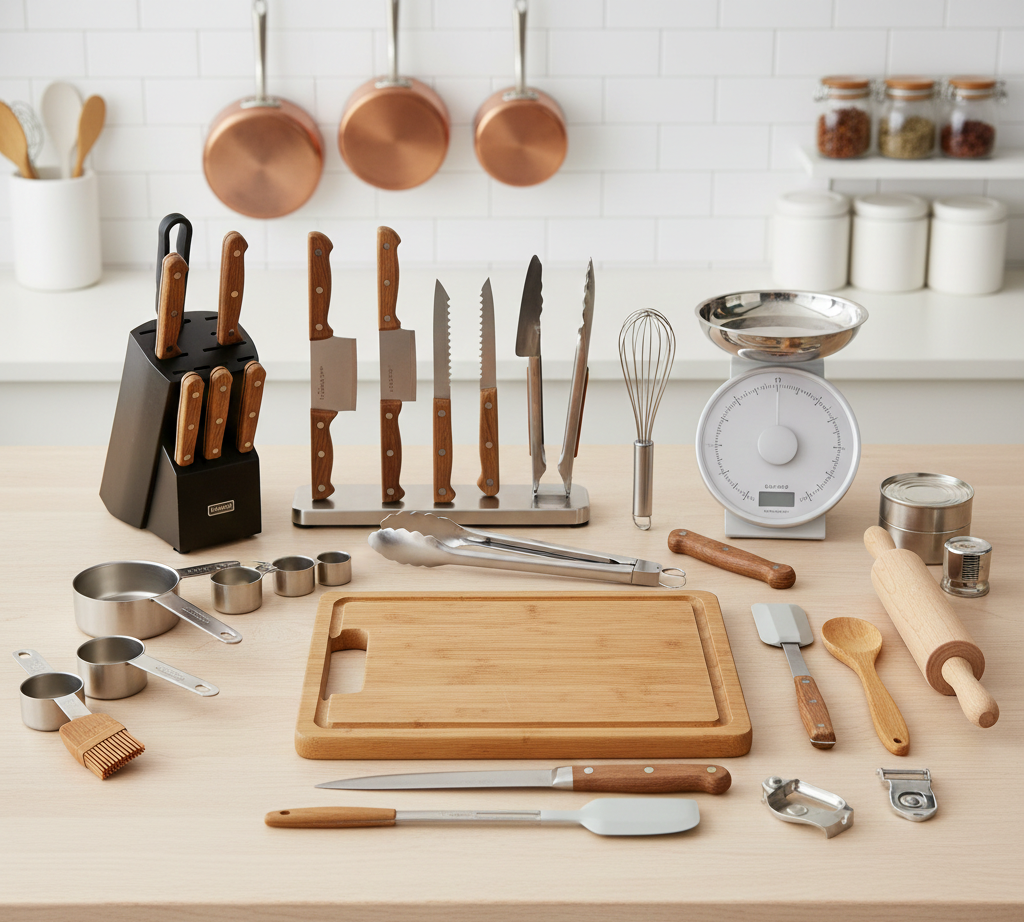
2. Choosing Your Armor: The Utensil Guide
Just as a painter needs the right brush, a cook needs the right metal. The material of your utensil changes how heat interacts with your spices.
The Iron Kadhai (The Flavor Enhancer)
For generations, Indian kitchens relied on cast iron. Iron retains heat beautifully, making it perfect for deep-frying or slow-cooking.
Masalaway Tip: Use an iron pan for dry-roasting our Kali Mirch or Jeera. The high heat brings out a smoky depth that non-stick pans simply cannot match. Plus, it adds a natural trace of iron to your diet!
Stainless Steel (The All-Rounder)
Stainless steel is non-reactive, meaning it won’t change the taste of acidic foods like tomatoes or tamarind. It’s the perfect vessel for boiling your morning tea infused with Masalaway Elaichi.
Clay Pots (The Heritage Choice)
If you want to experience the “soul” of traditional cooking, use a clay Handi. The porous nature of clay allows heat and moisture to circulate evenly. It’s the ultimate way to cook a slow-simmered curry using Masalaway Hing.
3. The Anatomy of a Perfect Dish: The 4-Step Process
Most Indian recipes follow a specific logic. Once you learn this flow, you can cook almost anything without a recipe book.
Step 1: The “Tadka” (Tempering)
This is where the magic happens. Many spices are fat-soluble, meaning their flavor is locked inside and only released in hot oil or ghee.
Drop your Masalaway Sarso Dana; wait for them to pop.
Add Masalaway Jeera; watch it sizzle and turn brown.
Add a pinch of Masalaway Hing at the very end. This creates an aromatic base that flavors the entire dish from the inside out.
Step 2: The Aromatics
Add your onions, ginger, and garlic. The goal here is to cook them until the “raw” smell disappears and they turn a beautiful golden brown.
Step 3: The Powder Bloom
Now, add your ground spices like Masalaway Kali Mirch Powder.
Pro Tip: Add a splash of water at this stage. It prevents the delicate powders from burning and helps them form a “masala paste” that coats your ingredients perfectly.
Step 4: The Simmer
Add your vegetables, lentils, or meat. Cover the pot and let it simmer. This “marriage” of flavors is when the spices truly penetrate the food.
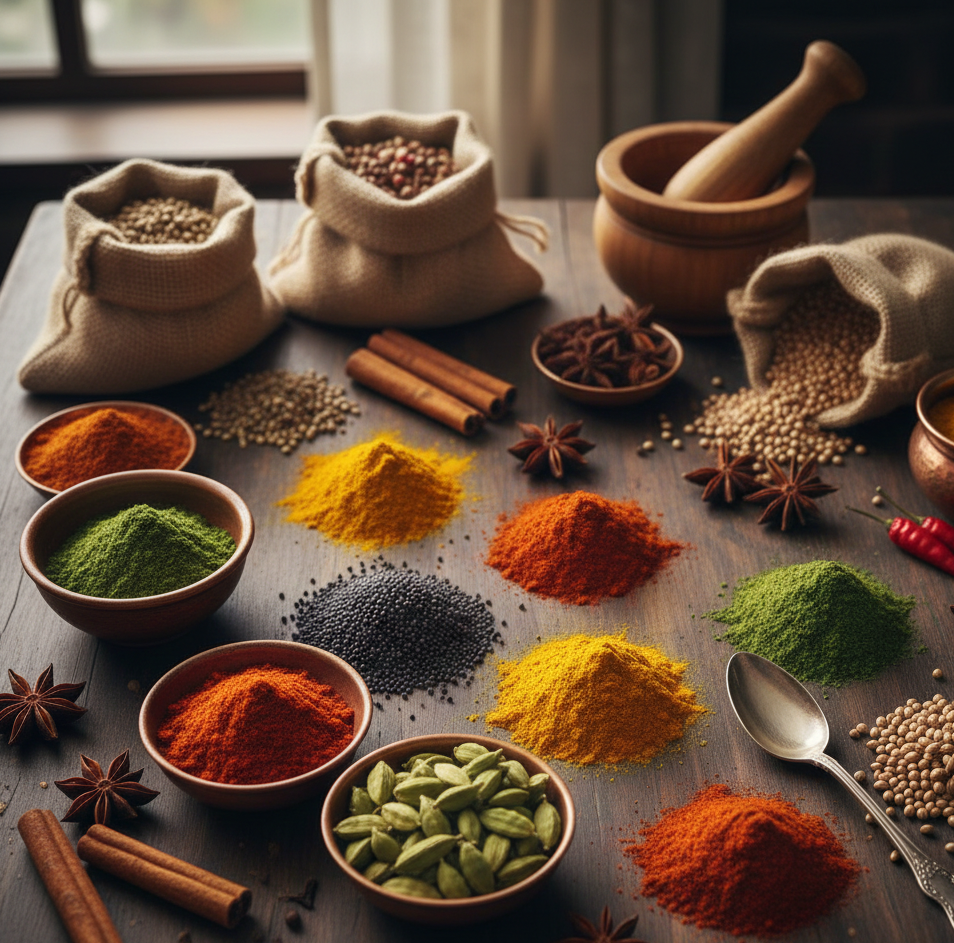
4. Why Quality Matters: The Masalaway Difference
You can have the best iron Kadhai and the perfect technique, but if your spices are old, dusty, or filled with chemicals, your food will taste dull.
Most store-bought spices sit in warehouses for months, losing their essential oils. At Masalaway, we source directly from the plantations of the Western Ghats and the sun-drenched plains of Rajasthan. Our Kali Mirch is ground at cool temperatures to keep the heat alive, and our Green Cardamom is hand-picked for jumbo size and maximum aroma.
When you use Masalaway Spices, you aren’t just adding color; you are adding the “soul” of the heritage kitchen.
Bring the Heritage Home
Are you ready to transform your kitchen? Don’t settle for mediocre meals. Start your journey with the right foundation.
Upgrade your pantry: Explore our range of 100% Pure & Natural Spices. From the “Queen of Spices” (Green Cardamom) to the “Kitchen Gold” (Hing), we have everything you need to create masterpieces.
Invest in Quality: Check out our Masalaway Utensils & Accessories Collection of premium utensils designed to last a lifetime.
Ready to start? Visit our trading post today and take the first step toward becoming the chef your family deserves.